
Last updated October 16, 2026
 Wrought iron
 Wood & steel frame
 Farm & ranch
 Sliding driveway gates
 LiftMaster operators
Free on-site gate assessment - hinges, posts, and your LiftMaster or Nice gate operator checked before anything is quoted
The assessment is free and the quote is the invoice.
Get your free estimateDIY vs Professional Gate Repair: The Dallas Homeowner’s Decision Guide
The most common DIY gate repair mistake in Dallas isn’t the repair itself. It’s the diagnosis. A homeowner hears a grinding noise, assumes the gate motor is dying, and orders a $400 replacement operator. The real problem? A $12 wheel bearing packed with clay soil from the last North Texas rainstorm. This Gate Repair guide draws the exact line between what a Dallas homeowner can safely fix on a Saturday morning and what needs a trained tech with a multimeter and factory software. You’ll learn which of the 15 most common gate failures are DIY-safe, which are borderline, and which will cost you double to undo if you try them yourself. We service gates across Dallas every day, and the patterns repeat: same symptoms, same wrong guesses, same avoidable bills.
Quick Answer
Most gate repairs in Dallas split into three categories: mechanical fixes like wheel and hinge adjustments that are often DIY-safe with basic tools, low-voltage electrical fixes like keypad batteries and photo-eye alignment that are sometimes DIY-safe, and line-voltage or logic-board work that should always go to a professional. If the gate is physically off its track, binding on a hinge, or the operator makes a clicking sound but won’t move, you’re probably safe to investigate. If the problem involves the main control board, capacitor, transformer, or any wiring inside the operator housing, stop and call a professional. A wrong wire on a gate operator can turn a $150 repair into an $800 board replacement.
Styles & brands we work with
Table of Contents
- The Real Question: What’s Actually Failing, Not Whether You’re Handy
- The Go/No-Go Decision Tree: 15 Common Gate Symptoms Sorted
- The Three DIY Gate Repairs That Are Genuinely Safe in Dallas
- The Four Repair Categories Where DIY Makes It Worse
- The Real Cost of a DIY Attempt: A Formula That Actually Works
- What to Tell the Technician After You’ve Already Tried
- Dallas-Specific Gate Failure Patterns We See Every Week
The Real Question: What’s Actually Failing, Not Whether You’re Handy
The DIY-versus-professional decision is not a personality test. It’s a component identification exercise. A gate system has roughly eleven discrete parts: the gate itself (iron, steel, aluminum, or wood), the hinges, the wheels or rollers, the track, the gate motor (the box that slides or swings your gate automatically), the control board, the transformer, the battery backup, the safety sensors, the keypad or intercom, and the limit switches. Some of these are mechanical and forgiving. Others are electrical and unforgiving.
In our experience as gate repair specialists in Dallas, the homeowners who save money with DIY are the ones who correctly identify that the problem is mechanical before they touch anything. The homeowners who lose money are the ones who open the operator housing, see a circuit board, and start poking. The distinction is simple to state and hard to follow when you’re frustrated: if it moves on a hinge, rolls on a wheel, or bolts to the gate, it’s mechanical. If it has a wire attached, it’s electrical. If it has a capacitor the size of a soda can, it’s line voltage, and it’s not a weekend project.
Mechanical vs Electrical vs Line-Voltage: The Plain Explanation
Mechanical components are the physical parts that guide and support the gate: hinges, wheels, track, bolts, brackets, and the gate frame itself. They wear out gradually, make progressive noise, and can usually be inspected by eye. A hinge that’s sagging a quarter inch is visible from ten feet away.
Low-voltage electrical components run on 12 or 24 volts, which is what your doorbell uses. These include photo-eye safety sensors, keypads, push-button remotes, loop detectors, and battery backups. They’re generally safe to handle, but the diagnosis has to be right, because a bad low-voltage part can mimic a bad high-voltage part.
Line-voltage components run on 110 or 220 volts, the same current that powers your kitchen appliances. These include the transformer, the motor itself, the capacitor that starts the motor, and sometimes the main power switch inside the operator. A 220-volt capacitor stores enough charge to hurt you even when the power is off. This category is always professional territory.
The Go/No-Go Decision Tree: 15 Common Gate Symptoms Sorted
Here’s the symptom-by-symptom breakdown we use when a Dallas homeowner calls and describes what their gate is doing. It’s organized by the most likely root cause and whether the repair is DIY-safe, borderline, or professional-only.
Mechanical Failures (Usually DIY-Safe to Inspect and Often Diy-Safe to Fix)
- Gate drags or scrapes on the ground: Root cause is usually a sagging hinge, a worn wheel, or soil buildup. The clay-heavy soil in Dallas expands and contracts with moisture, shifting gate posts by a quarter inch or more. DIY-safe to inspect; whether you can fix it depends on whether you can lift the gate safely. A gate weighing 300 pounds is not a one-person lift.
- Gate wobbles side to side when opening: Loose hinge bolts or a worn wheel bracket. DIY-safe with a socket wrench and a torque check on every bolt you can see.
- Grinding or squealing noise during travel: Dry or seized wheel bearings. DIY-safe to lubricate with a silicone or lithium spray. Do not use WD-40; it’s a solvent, not a lubricant, and it strips the existing lubrication.
- Gate stops mid-travel and reverses: Could be a mechanical obstruction on the track, or could be a safety sensor issue. Clear debris first (DIY-safe). If it persists, move to the electrical section below.
- Gate closes too hard or bounces at the close position: Worn rubber stops or a misaligned limit switch. The rubber stops are DIY-safe to replace. The limit switch may be adjustable with a screwdriver on some models, but only if you have the manual.
Low-Voltage Electrical Failures (Sometimes DIY-Safe)
- Keypad lights up but gate doesn’t respond: Most often a dead battery in the gate motor’s backup, a blown keypad fuse, or a programming glitch. A backup battery is a 20-minute swap if you can identify the battery type and the operator model. We cover this in the DIY-safe list below.
- Remote control works sometimes, not others: Weak remote battery, antenna obstruction, or interference from a nearby cell tower. Dallas has dense wireless traffic, and Ghost Controls operators in particular are sensitive to antenna placement. DIY-safe to replace the remote battery. If the range has degraded gradually over months, it’s probably the operator’s receiver board, which is professional territory.
- Gate reverses before it fully closes: Photo-eye misalignment or blockage. Shrubs, ivy, and Dallas Bermuda grass grow fast in the spring, and a single leaf in front of a safety sensor will make the gate behave as if it’s about to hit a child. DIY-safe to check alignment and clean the lenses.
- Gate won’t respond to anything after a thunderstorm: Likely a tripped GFCI or a surged transformer. Resetting the GFCI outlet is DIY-safe. If the reset button pops again immediately, you have a real short, and that’s no longer DIY territory.
- Gate opens but won’t close, or closes but won’t open: This is usually a limit switch adjustment or a logic board fault. If you have the installation manual and the operator has external limit screws, it might be DIY-adjustable. If the limits are set via a digital control panel, that’s programming, and programming errors are the number one reason we get called to undo a DIY attempt.
Line-Voltage and Logic-Board Failures (Always Professional)
- Gate operator hums but the gate doesn’t move: This is either a failed start capacitor or a damaged motor winding. A capacitor holds a charge even when the breaker is off and can deliver a painful and dangerous shock. Professional only.
- Burning smell or visible scorching near the operator: Stop using the gate immediately. This is a short circuit or an overheating transformer. Professional only, no exceptions.
- Gate runs continuously after reaching the open or close position: A stuck relay on the logic board. The board needs replacement or repair. Professional only.
- Control panel shows error codes or the display is blank: The operator’s brain is the control board. Guessing here is like replacing your car’s engine because the check-engine light came on. Professional only.
- Gate trips the breaker every time it operates: This is a motor problem, a wiring problem, or a damaged cable. All three are professional territory.
The Three DIY Gate Repairs That Are Genuinely Safe in Dallas
There are exactly three repairs we tell Dallas homeowners they can safely do themselves, with a combined parts cost of around $40 and tools most people already own; see our Gate Repair Maintenance Checklist for Dallas Homeowners for a full seasonal routine. We’ll walk through each one. If you follow these steps and the gate still misbehaves, stop and call. The next step after these three is almost always professional.
1. Replacing the Backup Battery in the Gate Motor
Backup batteries keep your gate opening during power outages, which matter in Dallas when summer thunderstorms knock out transformers across the metro. A dead backup battery causes strange symptoms: the gate might work fine when the power is on but refuse to move during an outage, or the keypad might blink erratically, or the gate might drift open and stay open. Most operators use a sealed 12-volt battery, either 5 amp-hours or 7 amp-hours, available at any hardware store or battery shop for $20 to $35.
Steps:
- Unplug the gate operator from its AC power. Do not skip this step, even though you’re only swapping a battery. The battery exists to run the gate when AC is off, so if you don’t unplug, the system stays live.
- Locate the battery compartment. On LiftMaster, Linear, and Viking operators, it’s usually behind a small access panel on the side of the operator housing. On BFT operators, it’s often under a top cover that lifts off with two screws.
- Take a photo of the battery orientation before you disconnect anything. Red to red, black to black. If you reverse the leads, even for a second, you can blow the fuse on the control board and turn a $30 battery swap into a $120 board fuse replacement.
- Disconnect the old battery, connect the new one using the same orientation from your photo, close the panel, and plug the operator back in.
- Test the gate by unplugging the operator again. If it opens on battery power, you’re done. If it doesn’t, the problem was never the battery, and you’ve just ruled out the cheapest cause.
2. Cleaning and Realigning the Photo-Eye Safety Sensors
Dallas spring growth is relentless. Between March and June, we get more calls about gates that reverse mid-close than any other issue, and a surprising number of them are fixed by wiping off a sensor lens. Photo-eyes are the small black or grey boxes mounted on either side of the gate opening, about a foot off the ground. One sends an invisible beam; the other receives it. If the beam is broken, the gate interprets it as “something is in the way” and refuses to close. That’s the sensor doing its job, not a malfunction.
Steps:
- Trim back any ivy, shrubs, or grass that has grown up around the sensor housings. Check for new mulch beds, stacked firewood, or a trash bin that’s been moved into the beam path.
- Wipe both sensor lenses with a dry cloth, then a lightly dampened cloth if there’s caked-on dust. Do not use glass cleaner; it leaves a film that diffuses the beam.
- Check the alignment. Most photo-eyes have a small indicator light: solid green means aligned and clear, blinking or red means misaligned or blocked. If the lights are not both solid, loosen the mounting screw and adjust the sensor angle until both lights go solid.
- Test by putting your hand in the beam path while the gate is closing. It should reverse. If it closes on your hand, the sensors were never connected properly, and that’s a wiring issue, not a cleaning issue.
3. Replacing the Keypad Battery and Reprogramming the Entry Code
Wireless keypads run on 9-volt or AA batteries and wear out in the Dallas heat, which cooks electronics mounted in direct sun on a south-facing brick column. If your keypad works intermittently or only from very close range, try the battery first. Keypad batteries are a 15-minute job and the new battery is under $10.
Steps:
- Open the keypad housing. Most models have a screw at the bottom or a snap-together cover. Use the screwdriver that fits the screw head; a wrong-size driver strips the head and makes the housing unopenable.
- Replace the battery, respecting the orientation shown in the compartment.
- If the keypad still doesn’t work, consult the operator manual for the keypad programming sequence. On Linear and Ghost Controls systems, this usually involves pressing a Learn button on the operator and then entering a new code on the keypad within 30 seconds.
- Test the code from your car, with the engine off and the door closed. Range tests from inside a running car with Bluetooth and a phone connected are not representative.
After these three repairs, the list of safe DIY options ends. The remaining repairs involve either the weight of the gate, the charge stored in a capacitor, or the logic in a control board. All three do not forgive mistakes.
The Four Repair Categories Where DIY Makes It Worse
We track the failure patterns we see after a DIY attempt, and they cluster into four categories. These are the repairs where a Dallas homeowner who is otherwise competent with tools actually increases the total cost by trying first.
1. Adjusting Force Settings Without the Programming Guide
Every gate operator since the mid-2000s has a force-sensing system that monitors how hard the motor has to push. If the gate meets resistance, the force sensor triggers a reverse or a stop, which is the safety system working as designed. When a gate starts binding due to a worn wheel, the homeowner turns up the force setting to push through the resistance. Then the operator senses an obstruction that never clears, triggers a safety lockout mode, and refuses to operate at all. The homeowner now has two problems: the original mechanical binding and a locked-out operator that requires a factory reset procedure specific to that model. On Viking and BFT operators, the lockout reset is not in the public manual. We’ve gone behind dozens of these in Dallas, and the combined repair often costs $150 to $250 more than fixing the original wheel would have cost.
2. Replacing a Control Board Without Diagnosing the Input That Killed It
If a control board fails, something often killed it: a power surge, water intrusion, a shorted accessory wire, or a motor drawing too many amps. If you replace the board without finding and fixing the cause, the new board will fail the same way, usually within weeks. A board for a modern LiftMaster or Linear operator runs $200 to $500, so repeating the failure doubles the bill. The correct sequence is diagnose, then replace. That diagnosis requires a multimeter and the wiring schematic, and it’s the single most common reason homeowners in Dallas end up spending more than they would have paid for a professional repair in the first place.
3. Greasing the Gate Track
This one sounds safe. It is not. Sliding gate tracks are designed to run dry or with a light silicone spray on the wheels only. Greasing the track itself causes Dallas dust, clay dust, and pollen to stick to the grease, creating an abrasive paste that accelerates wheel and track wear. The correct fix for a sticky sliding gate in Dallas is almost never more lubrication. It’s cleaning the track, checking the wheels for flat spots, and adjusting the gate’s horizontal alignment. If you’ve already greased the track, a professional will need to strip the grease, which adds labor to the repair.
4. Attempting a Gate Motor Replacement Without Checking Voltage at the Outlet
We see this one often enough that it belongs on the list. A homeowner’s gate stops working. They unplug the operator, buy a replacement online or from a local supplier, and install it. The gate still doesn’t work. The problem was the GFCI outlet that tripped during a storm, or a breaker that’s half-tripped, or a transformer that’s delivering low voltage. Now the homeowner has a new operator installed and the same failure, plus the challenge of returning an operator that’s already been wired in. A multimeter check at the outlet takes 30 seconds and costs nothing. Do this before you buy a single part. If you don’t own a multimeter, a $15 one from any hardware store is the best gate repair tool money can buy.
The Real Cost of a DIY Attempt: A Formula That Actually Works
The honest way to decide whether to attempt a repair is to put real numbers on it. Here’s the formula we recommend to Dallas homeowners who are on the fence:
DIY attempt cost = Parts cost + (Your time in hours × Your honest hourly rate) + (Probability the attempt fails × Professional repair cost)
The last term is the one people skip, and it’s the most expensive. Let’s work through a realistic Dallas example:
Your gate motor makes a clicking noise, and you suspect the battery backup. You buy a replacement battery for $30. The job takes you an hour, plus a trip to the store, so let’s call it two hours at $40 an hour, which is what many Dallas professionals would value their time at, conservatively. That’s $30 + $80 = $110 so far.
Now the probability term. If the actual problem is a failed motor capacitor, and your repair attempt doesn’t fix the clicking, you’ve spent $110 and still need a professional. The professional repair costs $250. Did the battery swap have a 50% chance of being the right fix? Maybe. So the expected cost of your attempt is $110 + (0.5 × $250) = $235. The professional repair from the start would have been $250, but it would have taken one visit, included a written diagnosis, and carried a guarantee. You’ve saved $15 and spent two hours. That’s a losing trade.
For repairs where the failure probability is low, the math flips. If your gate drags on the ground and you can see that a wheel is visibly worn, the chance that replacing the wheel fixes the drag is very high, maybe 90%. A $25 wheel and an hour of work is a rational bet. The professional repair for the same issue might cost $150, and now your DIY attempt cost $105 ($25 parts + $80 time) plus a 10% chance of needing the $150 pro fix, for an expected total of $120. You’ve saved $30 and learned how your gate works.
The formula’s value is not precision. It’s forcing you to assign a number to the uncertainty you’re ignoring. Most DIY gate repairs go wrong not because the homeowner lacks skill but because the homeowner misjudges which component is actually failing.
What to Tell the Technician After You’ve Already Tried
If you’ve already attempted a repair and it didn’t work, you have information a technician needs, even if you think you’ve made things worse. The technician’s job is not to judge the attempt; it’s to restart the diagnosis from where you stopped. Here’s what to say when you call:
Tell us exactly what symptom made you start. “The gate was dragging and making a scraping noise.” The original symptom is more useful than the current state. If you misdiagnosed and changed parts, the current symptom may be masked by your changes.
Tell us every part you replaced or adjusted. “I put in a new backup battery and sprayed the wheels with silicone.” This lets us rule out those components and focus on what you haven’t touched. It also tells us whether your adjustment may have introduced a second fault.
Tell us the operator make and model, if you know it. The brand name on the cover is usually enough: BFT, Linear, Viking, LiftMaster, Ghost Controls. Model numbers are printed on a rating plate inside the housing, but don’t open the housing if you’re not comfortable; the brand is enough to get started.
Tell us if you changed any settings. “I turned the force dial up halfway.” This is the most important disclosure of all. A technician who doesn’t know the force settings were changed will spend time chasing a mechanical problem that doesn’t exist. A technician who does know can reset the force and re-diagnose in half the time. The repair call is billed by the job, not the hour, so the faster we can diagnose, the lower your quote.
The worst thing you can do after a failed DIY attempt is say nothing about it. Every repair we quote at Warden Gate Repair Dallas starts with a written price before any work begins, and that price depends on an accurate diagnosis. For more guides & resources, see our blog. Accurate diagnosis depends on knowing what’s already been tried.
Dallas-Specific Gate Failure Patterns We See Every Week
Dallas has a specific climate and a specific soil, and they create specific gate problems. The patterns below come from years of working gates from Lake Highlands to Bishop Arts to Preston Hollow. If you’re seeing your gate fail in one of these ways, it’s probably the Dallas climate, not your gate’s age.
The Clay Soil Shift
Dallas sits on expansive clay soil that swells when wet and contracts when dry. A gate post set in concrete can shift by a quarter inch or more between a wet spring and a dry August. That quarter inch is enough to change the gate’s swing arc, which throws the hinges out of alignment, which makes the gate drag, which makes the motor work harder, which shortens the motor’s life. The fix is a hinge adjustment or a post reset, not a new motor. If your gate gets harder to open every spring and easier every winter, this is your issue.
The Summer Heat Kill
North Texas summers run weeks over 100 degrees. Control boards mounted inside operator housings cook in that heat. Capacitors, which are heat-sensitive, fail predictably in August. Battery backups degrade faster in heat than in cold. If your gate stops working on the hottest day of July, and the operator housing sits in direct afternoon sun, heat is a prime suspect. A shaded operator or a sun shield can add years to the life of a Dallas gate motor.
The Spring Pollen and Debris Pattern
Every March and April, Dallas gets coated in oak pollen, and it finds its way into safety sensors, keypads, and limit switches. Pollen is conductive enough to cause false sensor readings and stubborn enough to resist a dry wipe. The photo-eye cleaning steps in the DIY section above should be a standing March task for any Dallas homeowner with a gated driveway.
The Storm Surge
Dallas thunderstorms bring lightning, and lightning is not kind to gate electronics. A direct strike is rare, but a surge through the power line or the intercom wiring is common. After any major storm, if your gate behaves oddly, check the GFCI outlet first, then the breaker, then call. The pattern we see most after Dallas storms is a half-tripped breaker that delivers enough voltage to light up the control panel but not enough to run the motor.
Common Mistakes to Avoid
- Skipping the multimeter test before buying replacement parts. Measuring voltage at the outlet and continuity at the battery takes five minutes and prevents the most expensive mistakes we see in Dallas. A $15 multimeter is the cheapest gate repair insurance available.
- Greasing a sliding gate track. Dallas dust turns grease into grinding paste within a week. If the gate is binding, clean the track and check the wheels, don’t lubricate the rail.
- Replacing the backup battery without unplugging the operator. The battery exists to power the gate when AC is off, which means the system is live even when you think it’s not. Unplug first, every time.
- Cranking up the force setting to push through a binding gate. This triggers the safety lockout on most modern operators, and the lockout reset is not in the public manual for BFT and Viking models. The original binding problem was cheaper to fix than the lockout you just created.
- Ignoring a half-tripped breaker after a Dallas thunderstorm. A half-tripped breaker can power the control panel but not the motor, which looks like a dead motor. Flip the breaker fully off, then fully on, before you assume the operator is dead.
- Buying a replacement part by brand name only. “LiftMaster control board” is not a single part; there are dozens of board revisions, and the wrong one either won’t fit or won’t communicate with your existing accessories. Match the exact part number, or call a professional who can.
- Not photographing the wiring before disconnecting anything. If you do open a panel, a photo of the original wiring costs nothing and saves hundreds if you need to undo your own work. This applies to any repair at any skill level.
See the difference
 Before
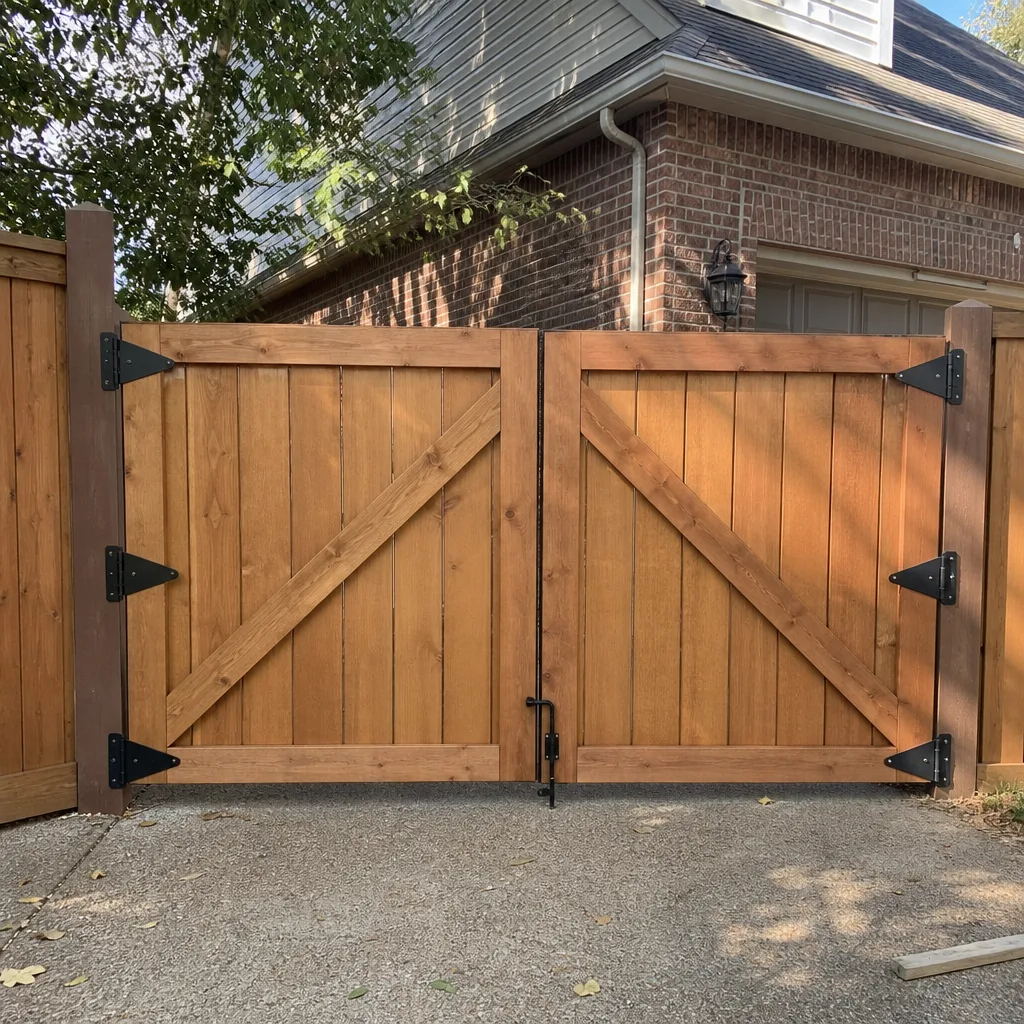 After
After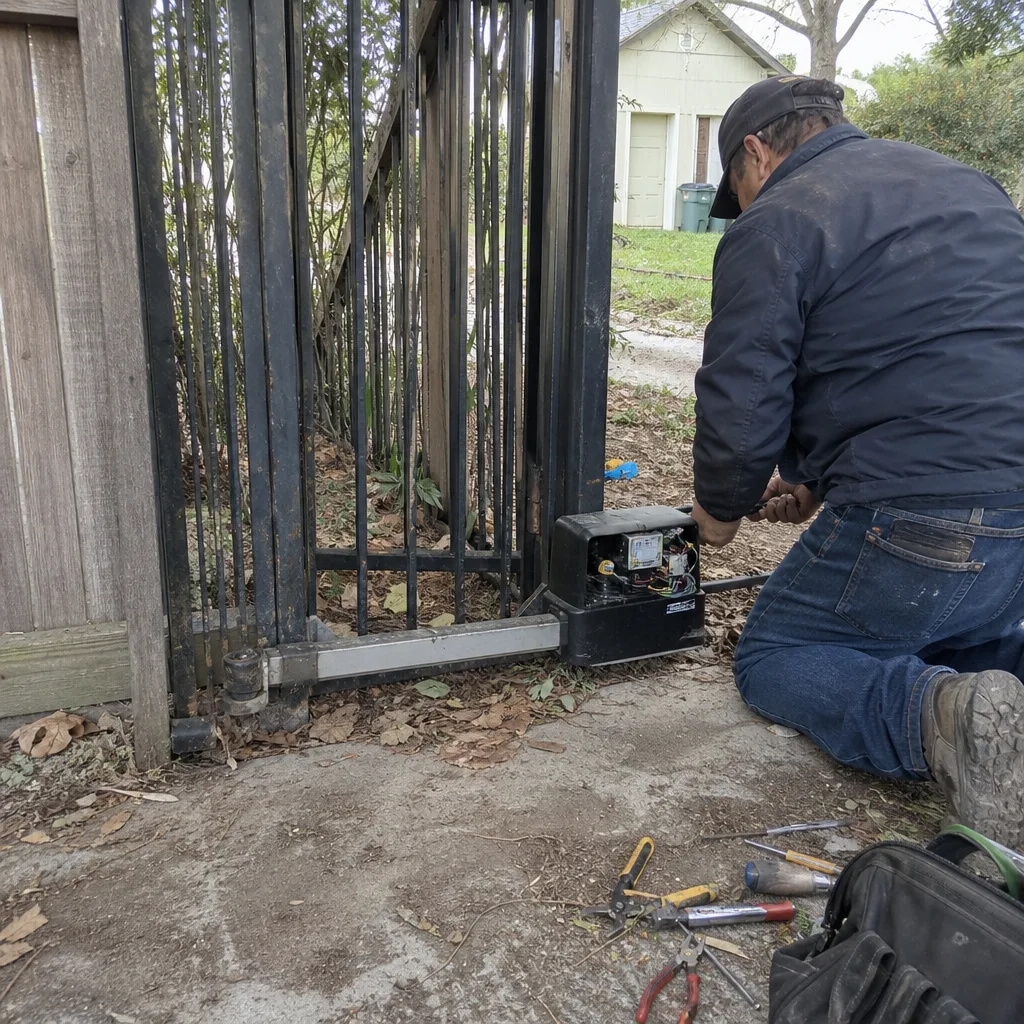 Before
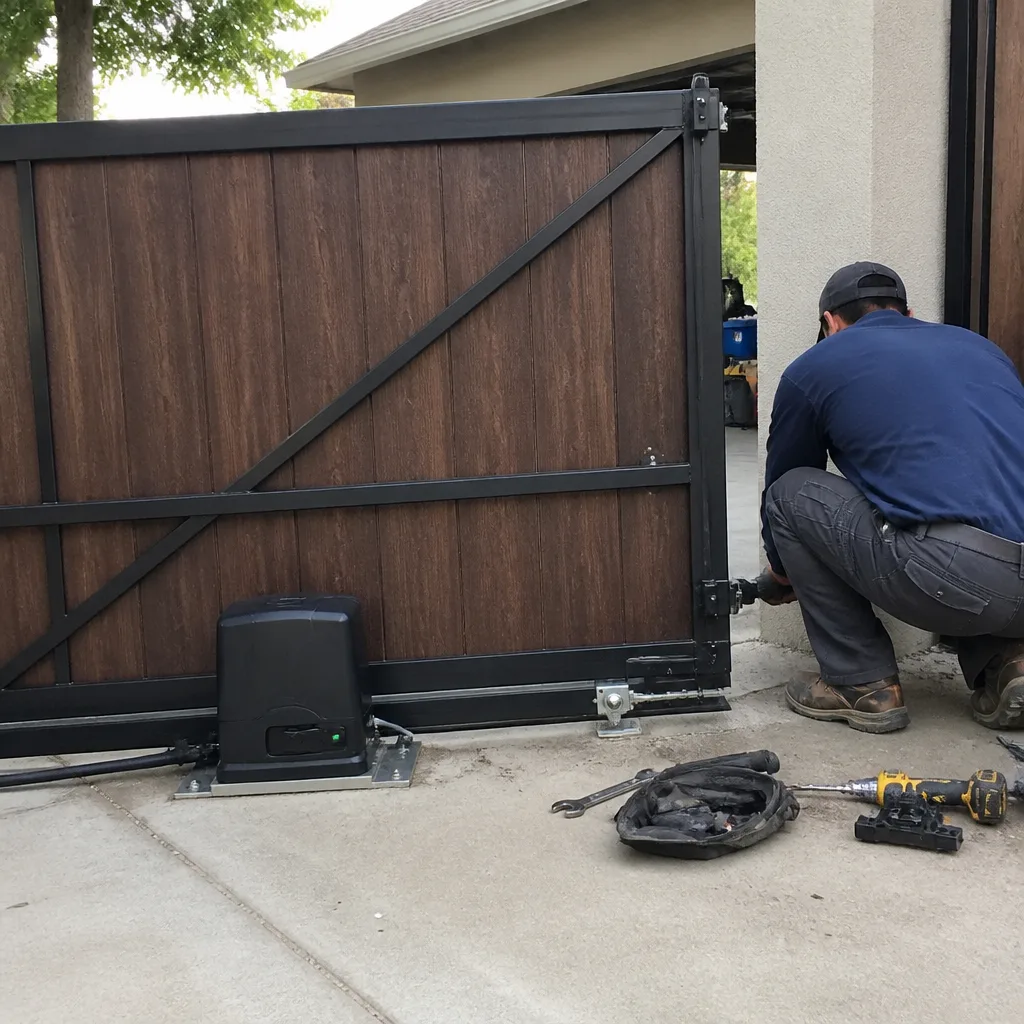 After
After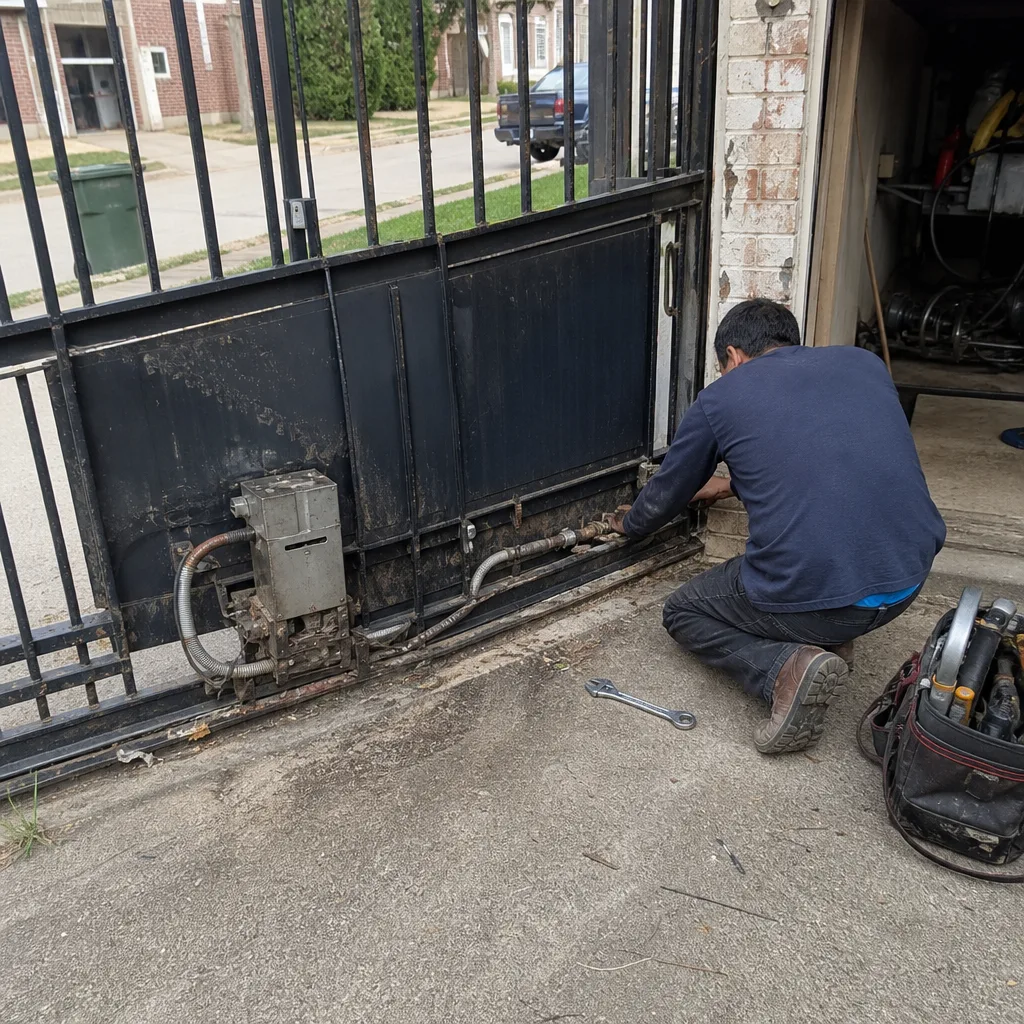 Before
 After
AfterWhen to Call a Professional
Call a professional when the problem involves the line-voltage power path, the control board, the motor itself, or any adjustment that requires factory programming. Also call when the gate is heavy enough that you can’t safely lift it off a hinge by yourself, which is most residential gates in Dallas. A cast iron or steel gate can weigh 300 to 800 pounds, and a mistake during a hinge repair can break a hand or worse. If the symptom persists after you’ve completed the three DIY-safe repairs above, stop and call. Continuing to guess compounds the cost. Gate repair in Dallas doesn’t have to start with a service fee; Warden Gate Repair Dallas offers free estimates over the phone and a written price before any work begins. Call (361) 322-4460 and describe the symptom, what you’ve tried, and the operator brand if you know it.
Frequently Asked Questions
Most gate repairs in Dallas run between $150 and $500, with simple fixes like battery replacement or sensor cleaning at the low end and control board replacement at the high end. The written price you’re quoted is the price you pay, agreed before any work starts, so there are no surprise line items after the repair. Call (361) 322-4460 for an exact quote on your specific symptom; estimates are free.
You can physically install a gate motor, but unless you’ve verified the supply voltage, matched the operator to your gate’s weight and duty cycle, and wired the safety sensors correctly, you’re risking a repeat failure or an unsafe gate. Gate motor replacement involves line voltage and safety circuit wiring, which is professional territory. Gate motor repair in Dallas is what we do every day, and a correct diagnosis before the replacement is what keeps the new motor from dying the same death as the old one.
Ninety percent of the time in Dallas, a gate that reverses during closing has a blocked or misaligned photo-eye safety sensor, often from spring plant growth or a shifted sensor bracket. Clean the sensor lenses, clear the beam path, and check the alignment indicator lights. If the problem persists, the sensor wiring or logic board is the next suspect, and that’s a professional repair.
If the gate frame is structurally sound and the posts are still plumb, repairing the operator and hardware is almost always cheaper than replacing the entire system. A new operator with a warranty is a good investment when the old one has failed due to age, but the gate itself is typically a 20 to 30 year structure. Dallas clay soil is the biggest threat to a gate’s structure, not age; if the posts are stable, the gate is worth repairing.
We’re factory-trained on nine major gate and opener brands, including LiftMaster, FAAC, BFT, Linear, Viking, Ghost Controls, DoorKing, Elite, and Mighty Mule. The right parts and the right knowledge arrive together, which means the repair is done once and done correctly. If you’re unsure of your operator’s brand, take a photo of the housing and we’ll identify it when you call.
Yes, electric gate repair in Dallas is our specialty: operators, safety sensors, keypads, intercoms, battery backups, and the full low-voltage and line-voltage system behind an automatic gate. Every technician we send is background-checked, identity-verified, photo-badged, and sent to you by name and photo before arrival, so you know exactly who’s coming to your door. Call (361) 322-4460 and we’ll schedule a repair with a written price before any work starts.
The Bottom Line
The DIY-versus-professional gate repair decision comes down to one question: is the failing component mechanical, low-voltage electrical, or line-voltage electrical? If it’s mechanical and you can see the problem, you can probably fix it. If it’s low-voltage and you own a multimeter, you might fix it. If it’s line voltage or the control board, don’t touch it. Dallas homeowners face specific failure patterns: clay soil shifting posts, summer heat cooking capacitors, spring pollen choking sensors, and thunderstorms surging circuits. Knowing which failure you’re looking at before you pick up a tool is the difference between a $40 Saturday repair and a $400 Monday lesson. When the problem exceeds the safe DIY line, Warden Gate Repair Dallas home to schedule a repair: we’ll send a known technician with a written price, and the work carries our 365-Day Done Right Promise.
Written by Cole Rafferty, Owner at Warden Gate Repair Dallas, serving Dallas since 2008.