
Last updated October 16, 2026
 Wrought iron
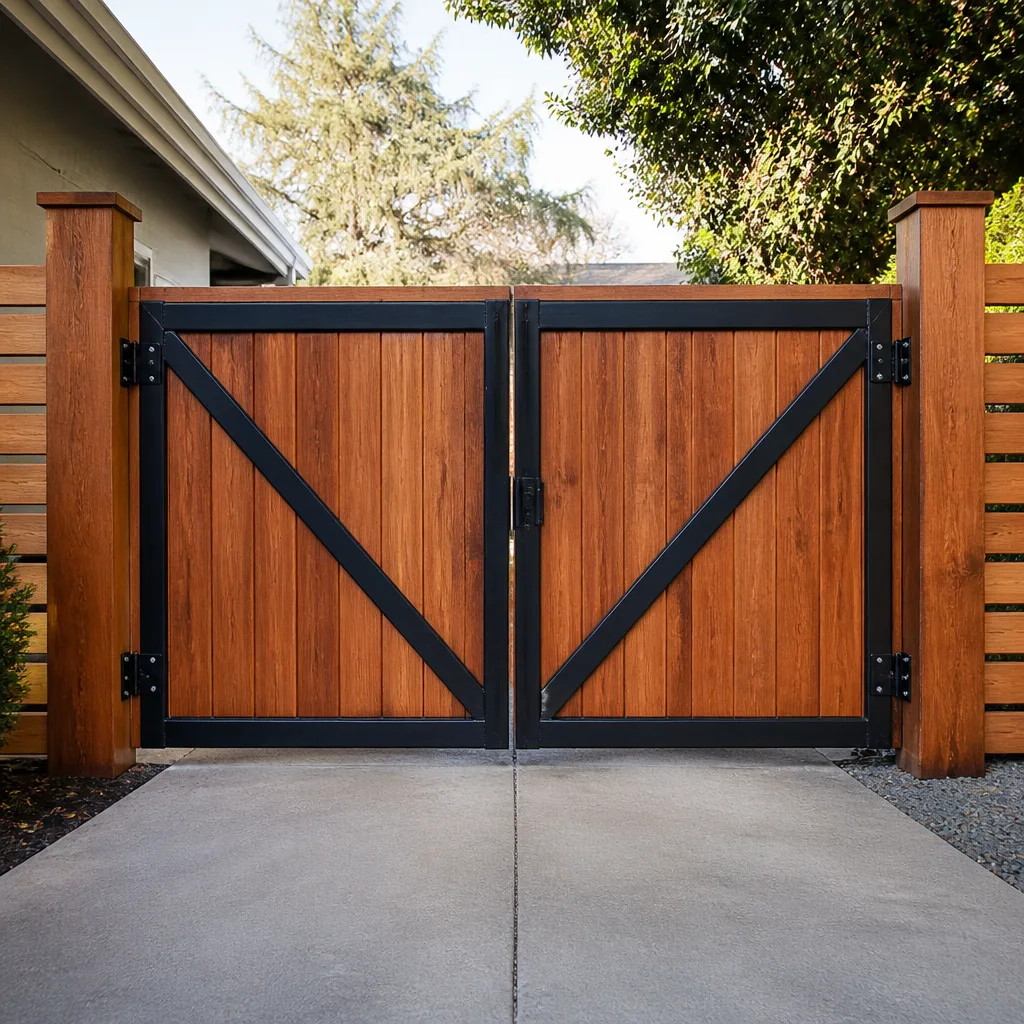 Wood & steel frame
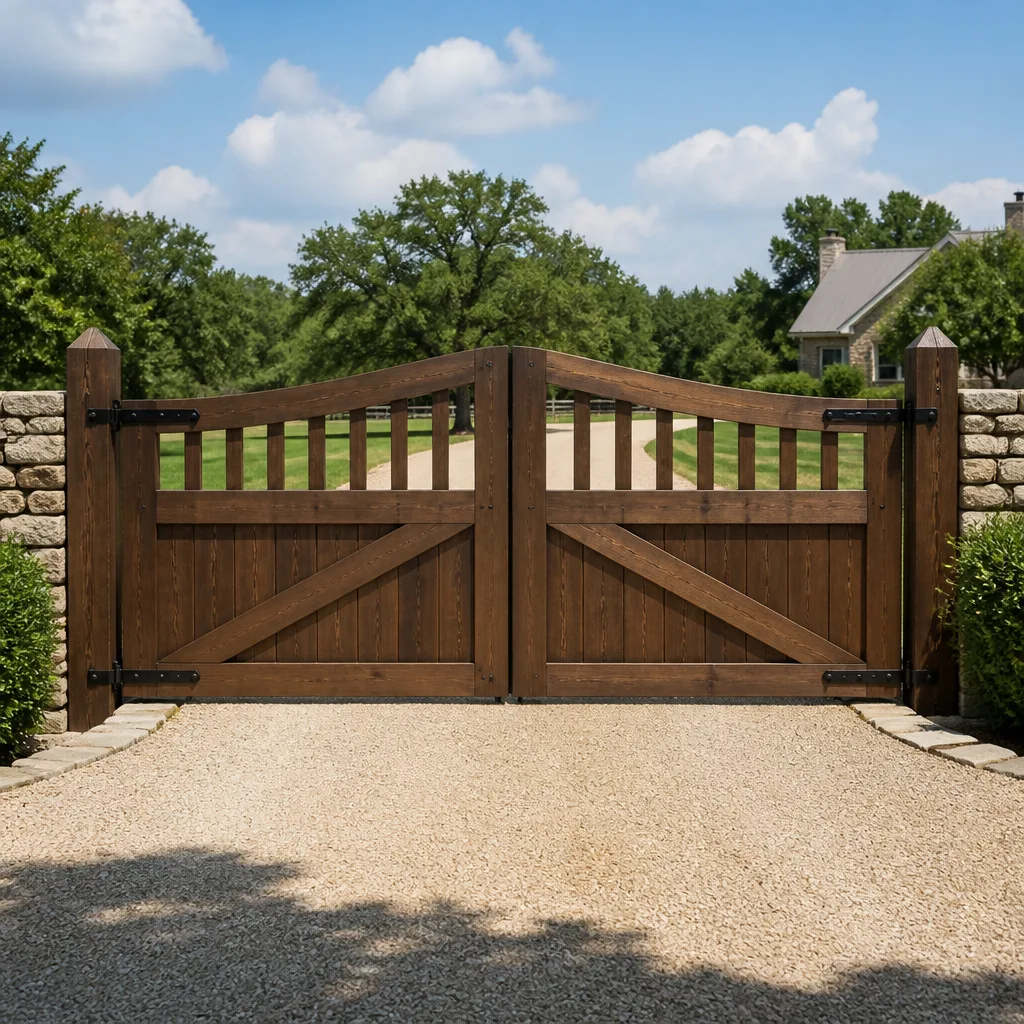 Farm & ranch
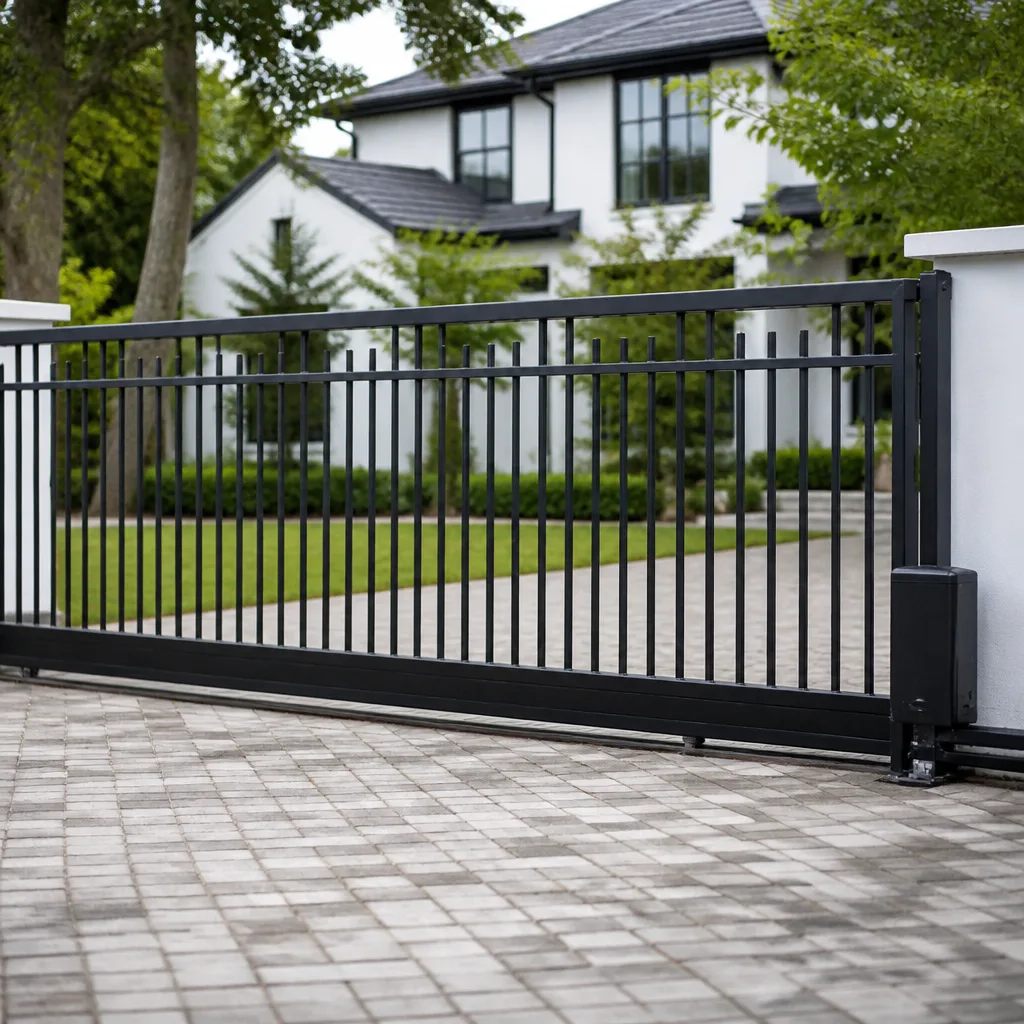 Sliding driveway gates
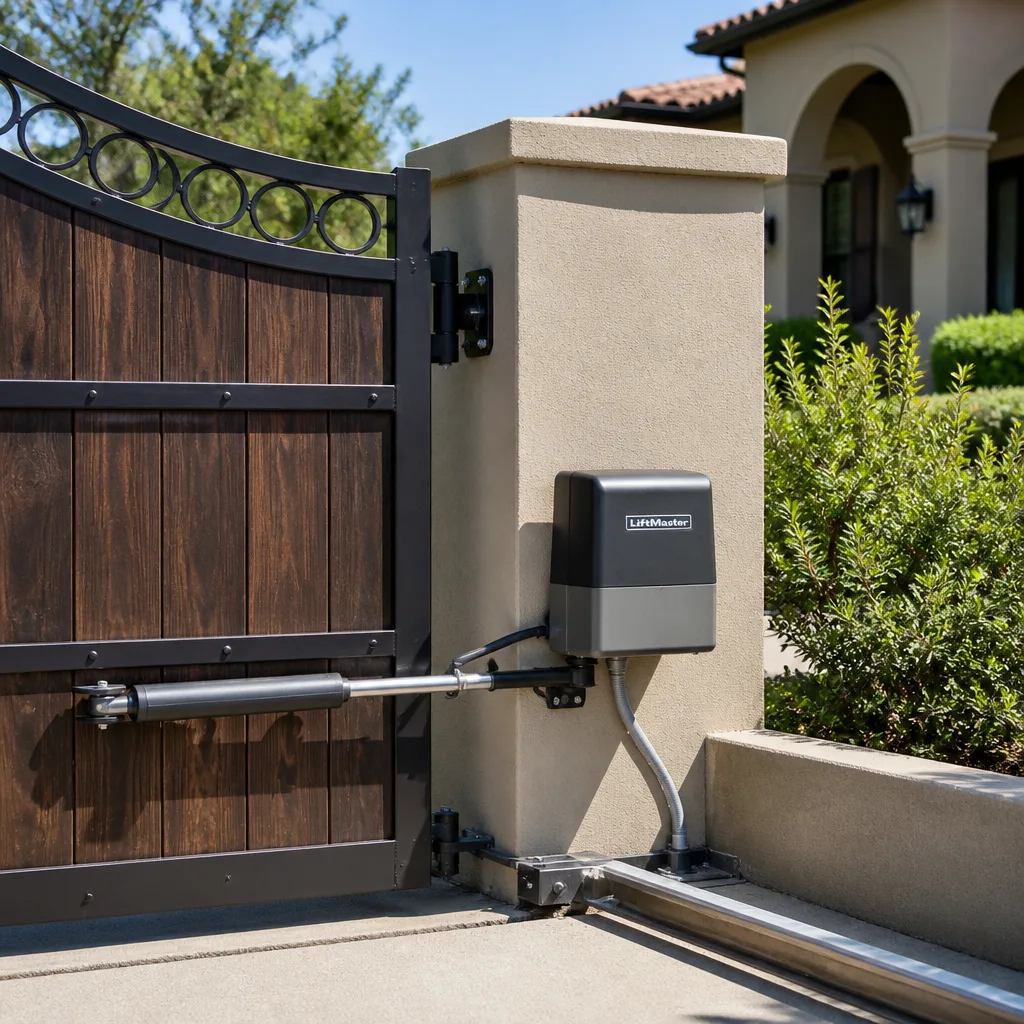 LiftMaster operators
Free on-site gate assessment - hinges, posts, and your LiftMaster or Nice gate operator checked before anything is quoted
The assessment is free and the quote is the invoice.
Get your free estimateGate Repair Maintenance Checklist for Dallas Homeowners
The single most skipped maintenance task on Dallas gates, lubricating the operator’s drive chain or screw, costs under $8 in spray lubricant. Neglect it through one Texas summer and you’re often looking at a motor burnout repair that averages $320. That gap between an $8 can and a $320 motor is where this guide lives. We wrote this because most generic gate checklists ignore the two forces that actually destroy gates in Dallas: relentless summer UV that degrades wiring and rubber components, and clay-soil heave that silently torques frames between visits. Every task here is tied to Dallas’s actual weather calendar, not a generic “check twice a year” platitude.
Styles & brands we work with
Quick Answer
A Dallas gate maintenance checklist should be anchored to the weather, not the calendar year alone. Twice yearly, lubricate the operator chain or screw, check the battery backup in April before storm season, inspect UV-exposed wiring and rubber seals in June, and measure gate-post plumb with a $12 level to catch clay-soil heave drift. The full annual sequence takes about four hours total, costs under $40 in materials, and prevents the majority of gate failures we see in Dallas.
Table of Contents
- Why Dallas Gates Fail Differently Than Gates Anywhere Else
- The Month-by-Month Dallas Gate Maintenance Schedule
- Lubrication That Actually Survives a Dallas Summer
- Clay-Soil Heave: The Slow Frame Twister Most Checklists Miss
- Wiring and Sensor Inspection: What to Check vs. What to Leave Alone
- Battery Backup and Storm-Season Preparation
- The Printable Maintenance Log That Matters for Warranties and Resale
- Common Mistakes to Avoid
- When to Call a Professional
- Frequently Asked Questions
- The Bottom Line
Why Dallas Gates Fail Differently Than Gates Anywhere Else
Dallas doesn’t just get hot. It gets hot for a long time, with sustained triple-digit stretches that cook gate components in ways that a Phoenix gate never experiences, because Phoenix is dry and Dallas is humid. That combination of heat plus humidity is what makes Dallas gate maintenance unique. Rubber gaskets and wire insulation get baked by UV on the outside while humidity works its way into small cracks from the inside. The result is degradation that happens faster here than in most of the country.
The second force is the soil. Much of Dallas sits on what geologists call expansive clay soil, the same Blackland Prairie clay that runs through the eastern half of the city. This clay shrinks dramatically during summer drought and swells after heavy rain. When the soil under a gate post shrinks or swells unevenly, the post moves. It might only move a quarter inch. That quarter inch translates to a gate that drags, a latch that won’t line up, and an opener motor that works harder every single cycle until it fails. In our experience with Gate Repair in Dallas, soil movement is a factor in roughly one out of every three gate problems we diagnose.
The third factor is the one most homeowners create themselves: the belief that a gate is a set-it-and-forget-it piece of hardware. A gate with an automatic opener is a mechanical system. It has moving parts, electrical components, and structural elements that all need periodic attention. The good news is that the attention it needs is predictable and inexpensive when it’s done on schedule. Which is what the rest of this guide is for.
The Month-by-Month Dallas Gate Maintenance Schedule
We structured this schedule around Dallas weather events rather than arbitrary calendar dates. Follow the sequence and the tasks become habits tied to things you already notice: the first 90-degree day, the first storm warning, the first freeze.
April: Pre-Storm-Season Battery and Hardware Check
April is the month Dallas starts getting serious about thunderstorms. Before the first severe weather watch, do this:
- Test the battery backup. Most gate openers with battery backup have a test function or a battery status LED on the control board. If the LED is red or amber instead of green, replace the battery. A gate that works fine on AC power but fails during a storm outage is a gate that’s useless when you actually need it, since many storm-related outages happen precisely when you’re trying to get a car in or out. Watch for the battery to hold its charge: if the meter drops from full to half in under an hour of use, it’s nearing end of life.
- Check the receiver antenna wire. The small wire that picks up your remote’s signal tends to get brittle with age. A cracked antenna wire means a remote that only works intermittently. Replace it if the outer jacket is cracked or the copper is visible.
- Clear the track and wheels. For sliding gates, inspect the V-track for leaves, soil, and balls of turf grass. Debris buildup here forces the motor to push harder, and the added strain shows up as overheating on the hottest days.
- Test the safety edges. The rubber strip with a pressure switch inside along the leading edge of your gate is what stops the gate if something is in the way. Place a wooden broom handle in its path and see if the gate reverses on contact. If it doesn’t, stop using the opener and call a technician.
- Write down the plumb reading. See the clay-soil heave section below for exactly how to do this and why it matters.
June: UV-Shield and Heat-Prep Inspection
By June, Dallas is reliably hot, and the UV exposure begins its annual assault. This is the month to look for what the sun has done over the preceding months:
- Inspect all exposed wiring and conduit. Look for cracked, chalky, or brittle insulation, especially where wires exit conduit or enter the operator housing. A compromised wire that lets moisture in can trip the GFCI or, worse, create a short that fries the control board.
- Inspect rubber seals and gaskets around the operator box, keypad, and photo eye housings. When these dry out and crack, water gets in, and the internal electronics live in a box that sees condensation every morning. This is a leading cause of intermittent faults we see in Electric Gate Repair in Dallas.
- Lubricate the drive mechanism. Use a dry lithium spray lubricant or a silicone-based spray with PTFE. Avoid grease and penetrating oil. (More on product selection below.)
- Check the gate’s speed. If a gate that used to open in 14 seconds now takes 20, the motor is working against added resistance. That increased run time translates directly to increased heat, and heat is the enemy of motor windings.
- Inspect the gate opener’s cooling vents. Many residential openers have passive cooling vents on the housing. Clear them of dirt, dust, and spider webs. Restricted airflow over a summer of Dallas heat is a slow death sentence for a gate motor.
September: Post-Summer Drying and Stress Audit
September in Dallas is still hot, but the nights start saving their breath, and it’s the right time for a post-stress audit before fall rains arrive:
- Re-measure post plumb and compare to your April reading. If the gate post has shifted more than a quarter inch since April, the summer drought has moved it. Schedule a service call before the fall rains, because the wet-dry cycle is what does the structural damage.
- Inspect the gate frame for signs of stress. Look at the weld joints and corners for hairline cracks in the powder coat or paint. A crack in the coating at a joint often means the gate itself has flexed. The crack lets moisture in, and now you have a rust problem forming under the paint.
- Clean the photo eye lenses. The small optical sensors at the base of each side of the gate track accumulate dust, grass clippings, and pollen through summer. A quick wipe with a dry cloth or compressed air eliminates the most common reason for a gate that reverses for no reason.
- Check hinge pins and bearing plates for any sign of sagging. If the gate drags more at the latch end than it did in spring, that’s a sign the hinge side is settling or the post is leaning.
February: Post-Freeze Hardware Audit
After the occasional Dallas freeze event, walk the gate and check:
- The weld points on the gate itself. A freeze that follows a wet spell can force water into micro-cracks, and the expansion cycle when it freezes widens them. Surface rust on any weld is the tell.
- The gate operator’s internal drive parts. Condensation from freeze-thaw cycles can leave moisture on the drive screw or chain. If you see rust on a chain drive after the freeze, wipe it with a cloth, then lubricate. A rusty chain is a chain that’s eating your sprockets.
- The keypad and key switch housings. Water that pooled and froze in these small enclosures can crack the housing. Test all entry devices for correct operation.
- The manual release function. In any freeze-related power outage, you should be able to disengage the opener and swing or slide the gate by hand. Test the release lever now, while nothing is wrong, so you know how it feels and where it is.
For a deeper walkthrough of what a full service call looks like, we cover the process in detail on our Warden Gate Repair Dallas home page.
Lubrication That Actually Survives a Dallas Summer
If you only do one thing from this entire guide, make it this section. A dry drive chain or screw is the number one cause of gate motor burnout in Dallas, and the fix costs under $8.
What the heat does: A gate operator’s drive chain or screw operates under tension. As it moves, friction generates heat at the contact points. On a 100-degree Dallas afternoon, the ambient temperature is already near the upper limit of what many residential openers are designed to tolerate. The additional heat from an unlubricated drive mechanism pushes the motor’s internal temperature past the point where the insulation on the motor windings begins to break down. Once that insulation is compromised, the motor is running on borrowed time.
Product selection matters. The wrong lubricant attracts grit and dust, which means the lubricant itself becomes an abrasive paste by July. Here’s what to use and what to avoid:
- Use: Dry lithium spray. Blaster and WD-40 Specialist both make dry lithium sprays that go on wet, then set to a dry film that doesn’t attract grit. This is our go-to for chains and screws on LiftMaster, Linear, and Ghost Controls units.
- Use: Silicone spray with PTFE. For hinge pins, latch mechanisms, and the manual release lever, a silicone spray with Teflon additive works without gumming up. DuPont’s silicone with Teflon is a good example.
- Avoid: White lithium grease from a tub. It’s heavy, it traps dust, and in a Texas summer it melts and runs, leaving a mess and no film where it’s needed.
- Avoid: Penetrating oil (WD-40 original, liquid wrench). These are solvents with light lubricant, not long-term lubricants. They break down quickly in the heat. If you use them to free a rusted part, follow with a proper dry lubricant.
- Avoid: Motor oil or axle grease. Too heavy. It holds grit and creates more friction than it solves.
Application technique: With the gate in manual mode, apply a thin coating to the entire length of the chain or screw. Run the gate through one full cycle, then wipe off the excess. A light film is enough. Excess lubricant is what drips onto the track and attracts dirt.
Clay-Soil Heave: The Slow Frame Twister Most Checklists Miss
This is the section that separates a Dallas-specific gate maintenance checklist from a generic one. The expansive clay soil under much of Dallas moves more than most homeowners realize, and your gate is balanced on two posts that sit in that moving soil.
What happens: In a wet spring, clay absorbs water and swells. In a dry summer, it shrinks. The movement isn’t uniform. One post might sit in soil with slightly more organic content, slightly different drainage, or a different sun exposure. The differential movement means one post rotates out of vertical while the other stays put. The gate’s latch no longer lines up. The gate drags on the ground or on the track. The opener’s force settings, calibrated when everything was square, are now wrong. The motor works harder every cycle.
How to catch it before it’s a $400 repair:
- Get a $12 torpedo level or a magnetic post level. Hardware stores in Dallas sell them in the tool aisle. You don’t need anything expensive or digital.
- Each April and September, place the level against the vertical face of each gate post on two sides: the side facing the driveway and the side perpendicular to it. The bubble should center in both positions.
- Record the reading. Don’t just look. Write it down. If the bubble is slightly off in April and slightly more off in September, the post is drifting. A quarter inch of total drift measured at the level’s position is the point at which we recommend a service call. Left unaddressed, the drift will accelerate as the gate’s weight begins to work against the lean.
- If the bubble moves, call for a post reset. A technician can lift the gate, reset the post in new concrete, and have everything back in alignment for a fraction of what it costs to replace a bent gate frame or a burned-out motor. This is the single highest-value preventive call a Dallas homeowner can make.
We’ve walked into driveways in Preston Hollow and Lakewood where a gate, installed perfectly level three years prior, was now sagging visibly enough that the homeowner had noticed but assumed it was “just the gate getting old.” It wasn’t age. It was the soil.
Wiring and Sensor Inspection: What to Check vs. What to Leave Alone
Part of being a responsible gate owner in Dallas is knowing the line between inspection and something you should let a trained professional handle. Here’s where that line sits.
Safe to inspect and address yourself:
- Visual inspection of low-voltage wiring to the photo eyes, keypad, and key switch. These are typically 24-volt DC or similar low-voltage circuits. If you see cracked insulation or exposed copper, you can wrap the affected section with electrical tape as a temporary measure, but replacement of the wire is the proper fix.
- Cleaning the photo eye lenses with a dry cloth or compressed air. If that doesn’t resolve a reflecting/reversing fault, the photo eyes may need replacement, which is straightforward for many homeowners but does involve wiring.
- Checking the battery backup terminals for corrosion. If you see white or green crust on the battery terminals, you can disconnect the battery (with the opener unplugged), clean the terminals with a wire brush, and reconnect. That’s a 15-minute job.
- Inspecting the control board for visible damage. Through the clear or translucent cover on many openers, you can see if the board looks burned, corroded, or if its diagnostic LEDs are showing a fault. You shouldn’t touch anything on the board, but seeing the damage tells you a service call is needed.
Leave to a professional:
- Anything involving 120V AC wiring. The power that feeds the gate opener from your panel, and the wiring inside the operator housing that carries that voltage, is lethal if you make a mistake. It’s not worth the risk. If the problem is upstream of the low-voltage zone, call a licensed technician.
- Control board replacement or repair. Even if you can identify a burned board, replacing it involves matching the board revision to your opener model, handling static-sensitive components, and sometimes reprogramming the limits and force settings. A mistake here can take your gate from “intermittent” to “completely dead.”
- Any adjustment to force settings or travel limits that involves removing the cover of the operator and working near the motor’s drive components. A mis-set force setting is how a gate becomes a safety hazard: too much force and the gate won’t stop when it should.
The rule we teach homeowners: if you can see it and clean it, it’s inspection. If you need to touch bare wire, remove the motor cover, or adjust settings, that’s service. For Gate Motor Repair in Dallas, the line is worth respecting because a mistake on the motor side is expensive and dangerous.
Battery Backup and Storm-Season Preparation
Dallas storms knock out power with regularity. A gate opener without a working battery backup is a gate you can’t open from your car during the exact conditions when you most want to get inside. Here’s how to make sure yours works when you need it.
Where the battery lives: In most residential openers, the battery backup is either an external unit mounted near the operator or an internal battery pack inside the operator housing. On BFT, Linear, and Viking units, it’s typically a sealed lead-acid battery about the size of a car battery’s smaller cousin. LiftMaster and Ghost Controls units often have smaller internal packs.
How to test it:
- Locate the battery and check the age. Most sealed lead-acid gate batteries last 3-5 years in Dallas heat. If there’s a date code on the battery and it’s older than three years, plan to replace it before storm season even if it seems fine.
- Run a live test. With the gate opener running, locate the breaker that feeds it and turn it off. Then operate the gate with the remote. It should open and close at slightly reduced speed. If it doesn’t operate at all, the battery is dead or the backup circuit has failed.
- Listen for the alarm. Many openers emit a slow beep when the battery is charging or a continuous beep when it’s low. If yours has an audio indicator, learn what each tone means.
- Keep a manual release tool accessible. In a prolonged outage, the battery will eventually drain. Every gate opener has a manual release mechanism, typically a key or a pull cord, that disengages the motor so you can operate the gate by hand. Know where yours is and test it in daylight once a year.
One more Dallas-specific note: the heat shortens battery life. If your battery backup unit is mounted on the sunny side of your gate post or inside a metal operator box that gets direct afternoon sun, expect shorter battery life. In our experience with Linear and BFT units installed in full sun, replacing the battery every three years instead of five is prudent.
The Printable Maintenance Log That Matters for Warranties and Resale
Most gate opener warranties require proof of reasonable maintenance if you file a claim. Most Dallas home sellers don’t think about the gate when they fill out a seller’s disclosure, but a buyer who sees a gate on the property is going to ask. A dated maintenance log is your answer to both situations.
Here’s the log format we recommend. Copy this into a notebook or a spreadsheet and fill it in each season:
- Date: [ ]
- Post plumb reading (driveway side) left post: [ ]
- Post plumb reading (driveway side) right post: [ ]
- Lubrication applied? (product name): [ ]
- Battery backup tested? (result): [ ]
- Photo eyes cleaned? [ ]
- Safety edge tested with obstruction? [ ]
- Gate travel speed (seconds, open to close): [ ]
- Wiring and seal inspection notes: [ ]
- Any new sounds, hesitations, or drag noted: [ ]
Each entry takes about ten minutes to complete. Across a year, that’s 40 minutes of your time for a record that stands up in a warranty claim and answers a resale question before it becomes a deal-breaker. We hear from Dallas realtors that a home with documented gate maintenance shows better in the listing.
Product reference for your log: Blaster Dry Lube with Teflon (or equivalent dry lithium spray), a basic torpedo level, a soft cloth for photo eyes. Total setup cost: about $20 at any Dallas hardware store.
Common Mistakes to Avoid
- Waiting until the gate squeaks to lubricate. A squeak means the metal-on-metal contact has been happening for weeks. The damage to the drive mechanism and the motor’s heat load has already started. Lubricate on a schedule, not on a sound.
- Using a power washer on the gate or operator. The pressure forces water past seals and into electrical enclosures. A garden hose with a soft spray is fine for cleaning the gate frame; keep it away from the motor housing and keypad.
- Ignoring a gate that’s running slower. That slower cycle is your gate telling you the motor is working harder. The cause is usually friction from an unlubricated mechanism or a post that’s drifted. Both are fixable for far less than a motor replacement if you act when the slowdown first appears.
- Adjusting the opener’s force settings to “fix” a dragging gate. When a gate starts dragging, the correct fix is to address the mechanical cause: lubrication, hinge adjustment, post reset. Crank up the force setting and the opener simply pushes harder against the resistance until something breaks.
- Assuming the battery backup works without ever testing it. Battery backup units fail silently. A gate opener will run fine on AC power for years while the battery sits dead and useless. The first time you find out is during a storm outage.
- Forgetting that the clay soil moves in cycles. A gate that was perfectly plumb at installation will not be perfectly plumb three years later. This isn’t an installation defect. It’s Dallas geology. Measure and adjust.
- Painting over the photo eye lenses or safety edges. When the gate gets repainted, the lenses and safety edges sometimes get oversprayed, which blinds the sensors or hardens the pressure strip. Mask them before painting.
When to Call a Professional
Call a professional when the gate has become unsafe, when the problem involves 120V wiring or control board work, or when you’ve measured post drift beyond a quarter inch. More specifically: if the gate reverses for no reason and cleaning the photo eyes doesn’t fix it, if the motor hums but the gate doesn’t move, if the gate moved during a storm and now the latch doesn’t line up, or if you smell burning plastic near the operator, stop using the gate and call-these are all Gate Repair Warning Signs: A Dallas Homeowner’s Reference Guide covers in detail. Warden Gate Repair Dallas offers free estimates in Dallas, and you can reach us at (361) 322-4460. The cost of a diagnostic call is almost always less than the cost of waiting until the gate fails entirely.
Frequently Asked Questions
Twice a year: once in April before the summer heat and once in September after the peak-heat months have passed. Use a dry lithium spray or silicone spray with PTFE. Never grease, never penetrating oil. If your gate sees heavy daily use (more than 20 cycles per day), add a third lubrication in June or July. Call (361) 322-4460 if you’re unsure what product to use on your specific opener.
A gate tune-up in Dallas typically costs between $150 and $300 depending on the gate type, opener brand, and number of gate leaves. A full tune-up should include lubrication, limit and force settings check, battery test, safety device verification, and a written report. The price is always quoted and agreed before any work starts. Call (361) 322-4460 for an exact quote on your gate.
Yes. Warden Gate Repair Dallas answers the phone 24/7, and we dispatch technicians throughout Dallas and surrounding areas for emergency gate failures. If your gate is stuck open or stuck closed and you cannot operate it manually, call (361) 322-4460 and we’ll get someone to you. Every job gets a written price before work starts, so you’ll know the cost before anyone touches a wrench.
Based on our repair volume in Dallas, Linear and LiftMaster residential openers hold up best to the sustained heat when they’re maintained properly, with proper lubrication and adequate ventilation around the operator housing. BFT and FAAC units are also stout but need their cooling vents kept clear more diligently. The best opener in Dallas is whichever one gets lubricated twice a year. Call (361) 322-4460 if you want a recommendation specifically for your gate’s size and weight.
We service and repair gate openers from LiftMaster, FAAC, BFT, Linear, Viking, Ghost Controls, DoorKing, Elite, and Mighty Mule. If your opener is one of those nine brands, we carry the common parts and have factory-trained technicians who work on it. Call (361) 322-4460 and tell us the brand and model from the label on your operator; we’ll confirm parts availability on the first call.
Place a level against the vertical face of the gate post and record the bubble position every April and September. If the reading drifts consistently in the same direction across two or more checks, the post is moving. A total drift of a quarter inch or more means the soil has moved the post enough to affect gate alignment and opener strain. Call (361) 322-4460 for a post reset estimate; catching it early keeps a $300 fix from becoming a $900 structural repair.
The Bottom Line
A Dallas gate maintenance checklist that doesn’t account for summer UV and clay-soil heave is a list of chores, not a maintenance plan. The whole point of this guide is to tell you what actually keeps a Dallas gate running: twice-yearly lubrication with the right product, a pre-storm battery check every April, a UV inspection every June, a post-freeze hardware audit in February, and a $12 level used to log post plumb readings so you catch soil movement before it catches your gate. That’s about four hours a year and under $40 in materials. Skip it, and the average alternative is a $320 motor replacement or a bent gate frame. Written by Cole Rafferty, Owner at Warden Gate Repair Dallas, serving Dallas since 2008.
See the difference
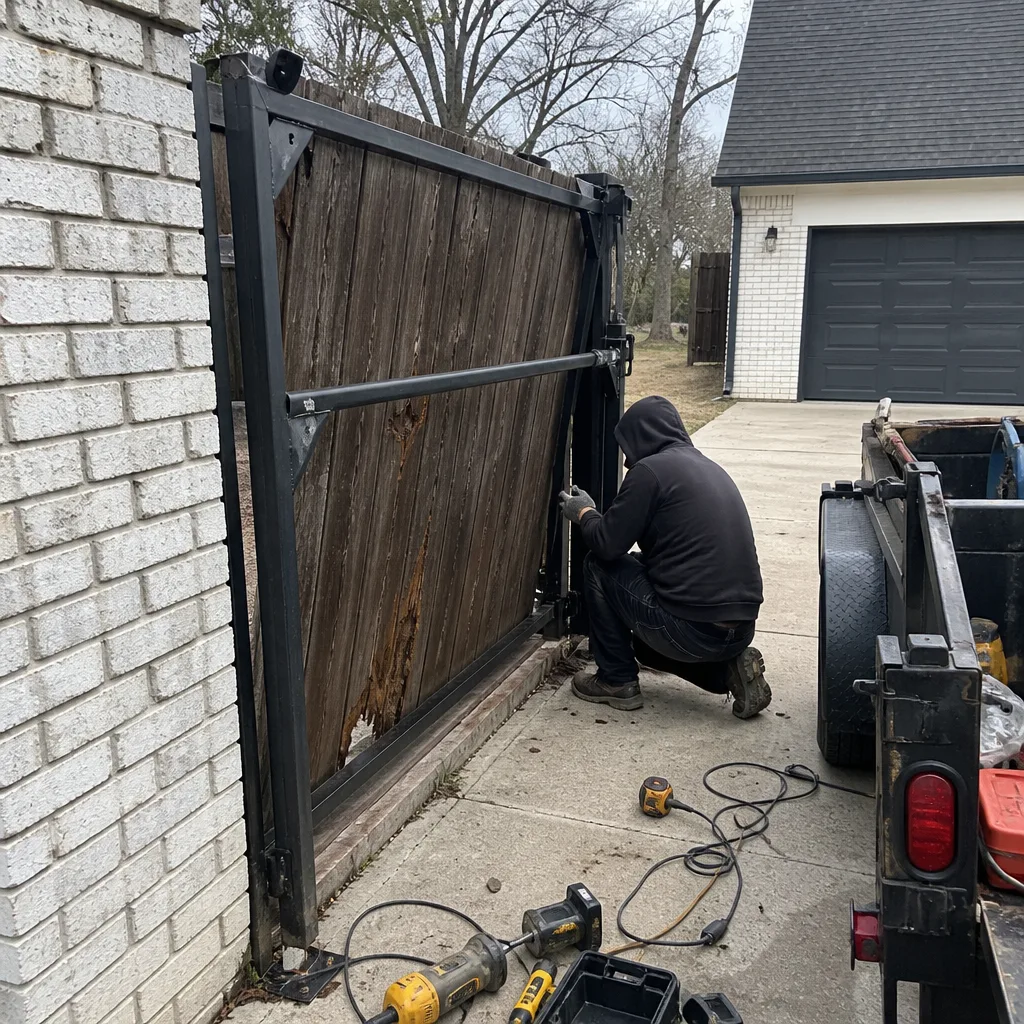 Before
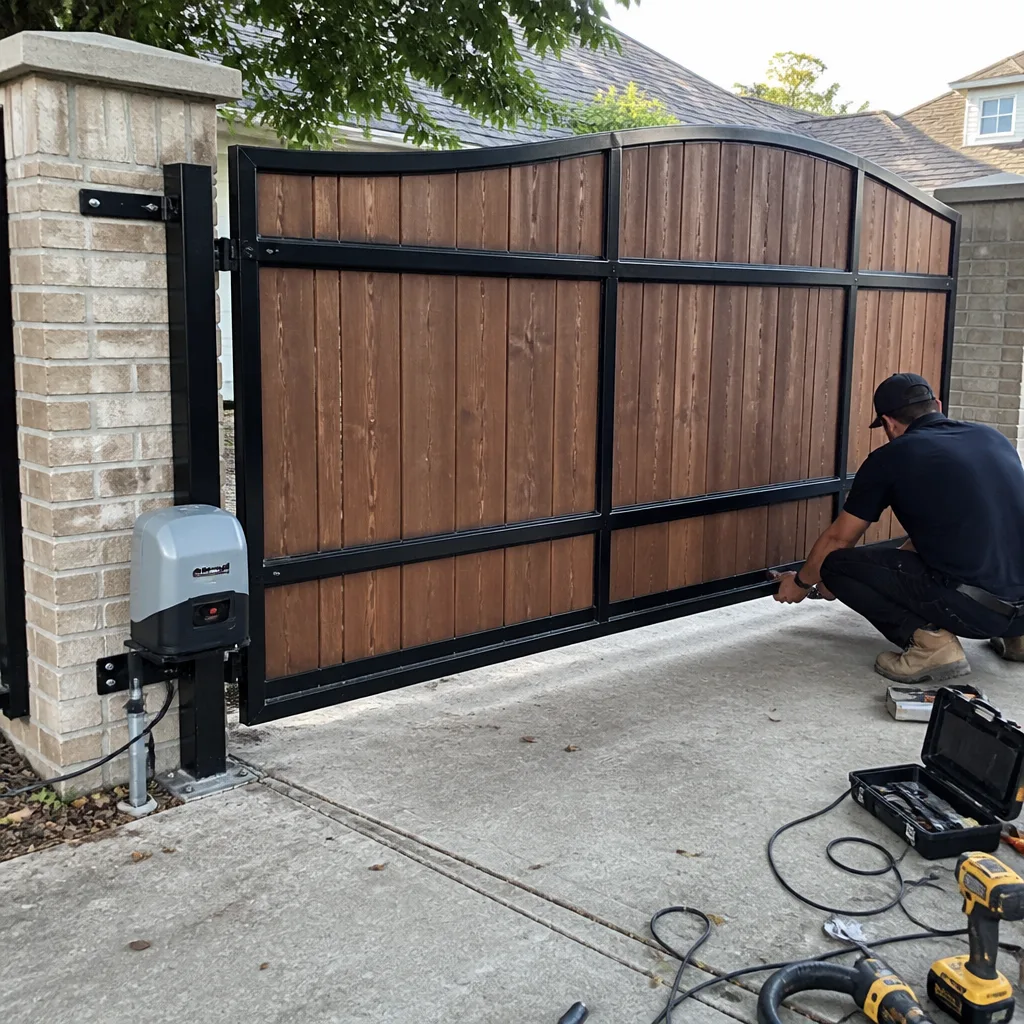
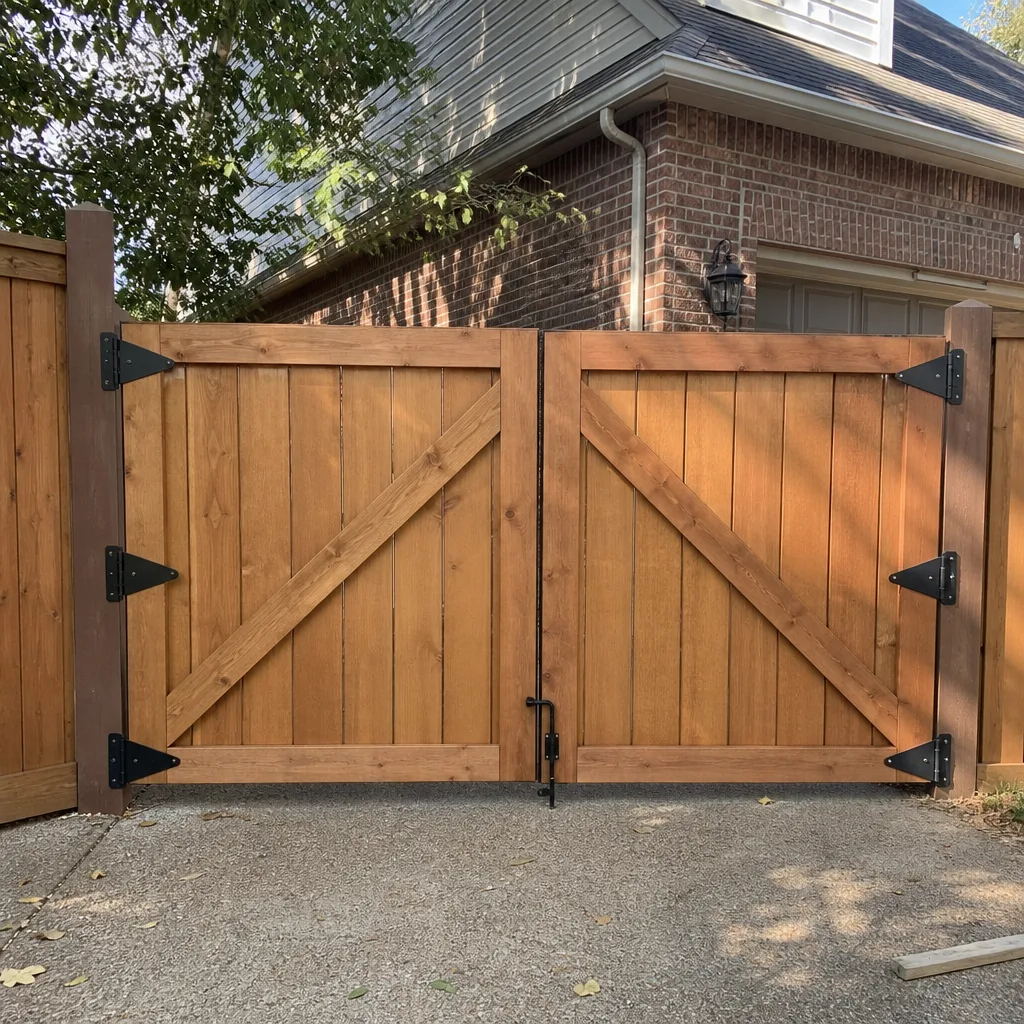 After
After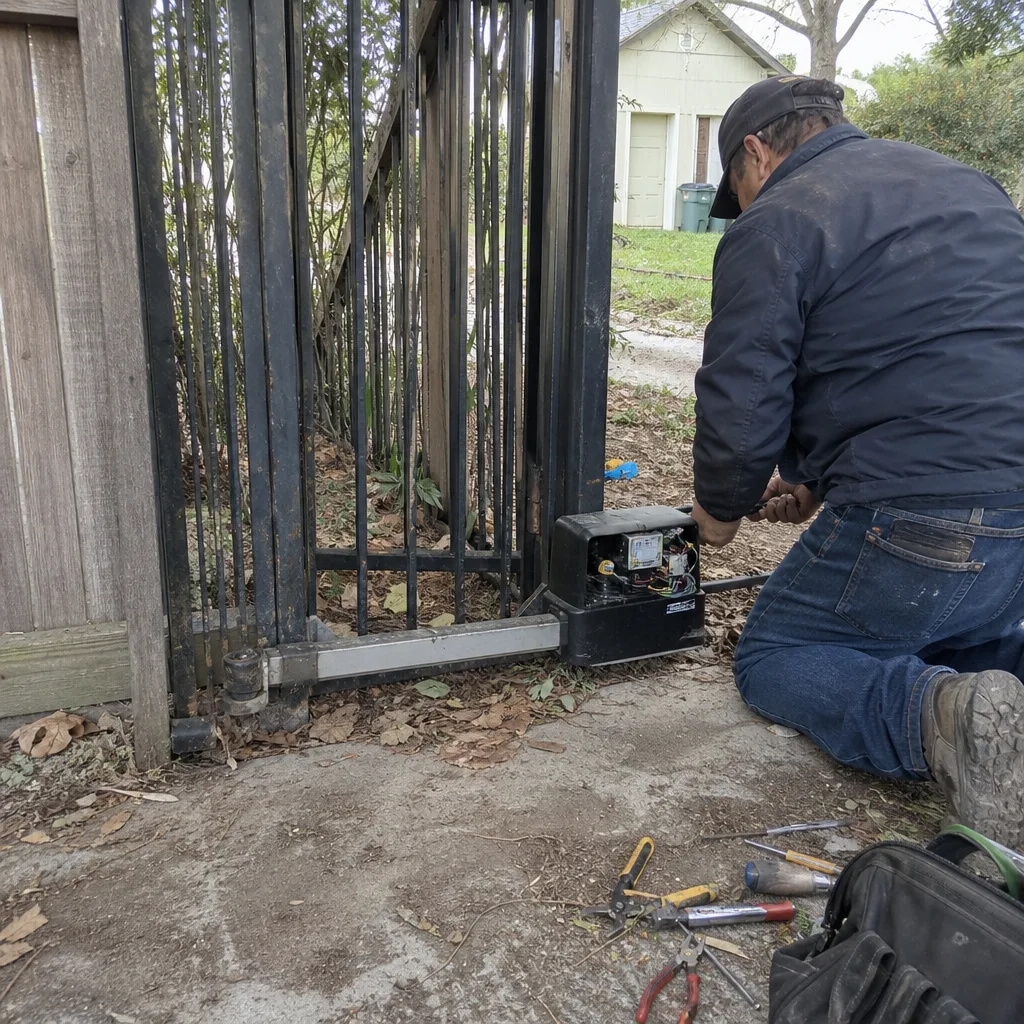 Before
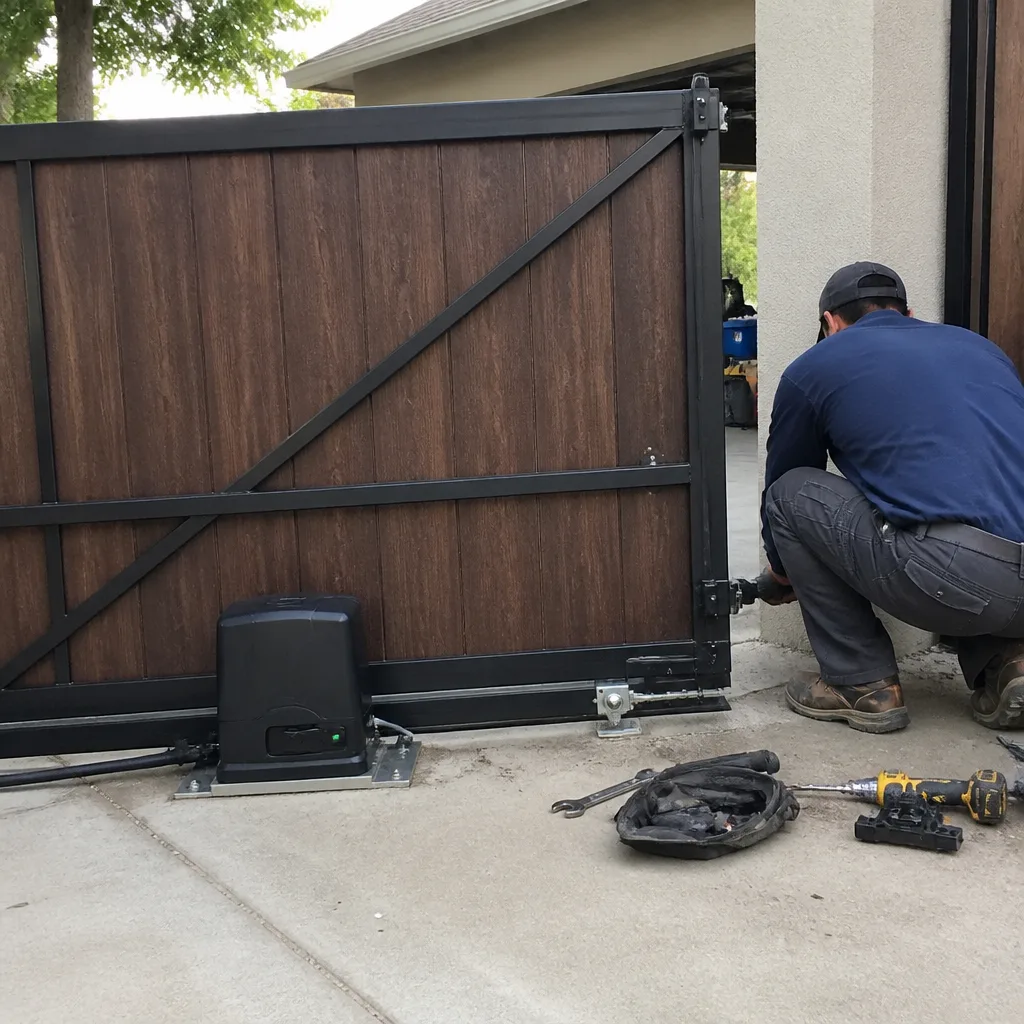 After
After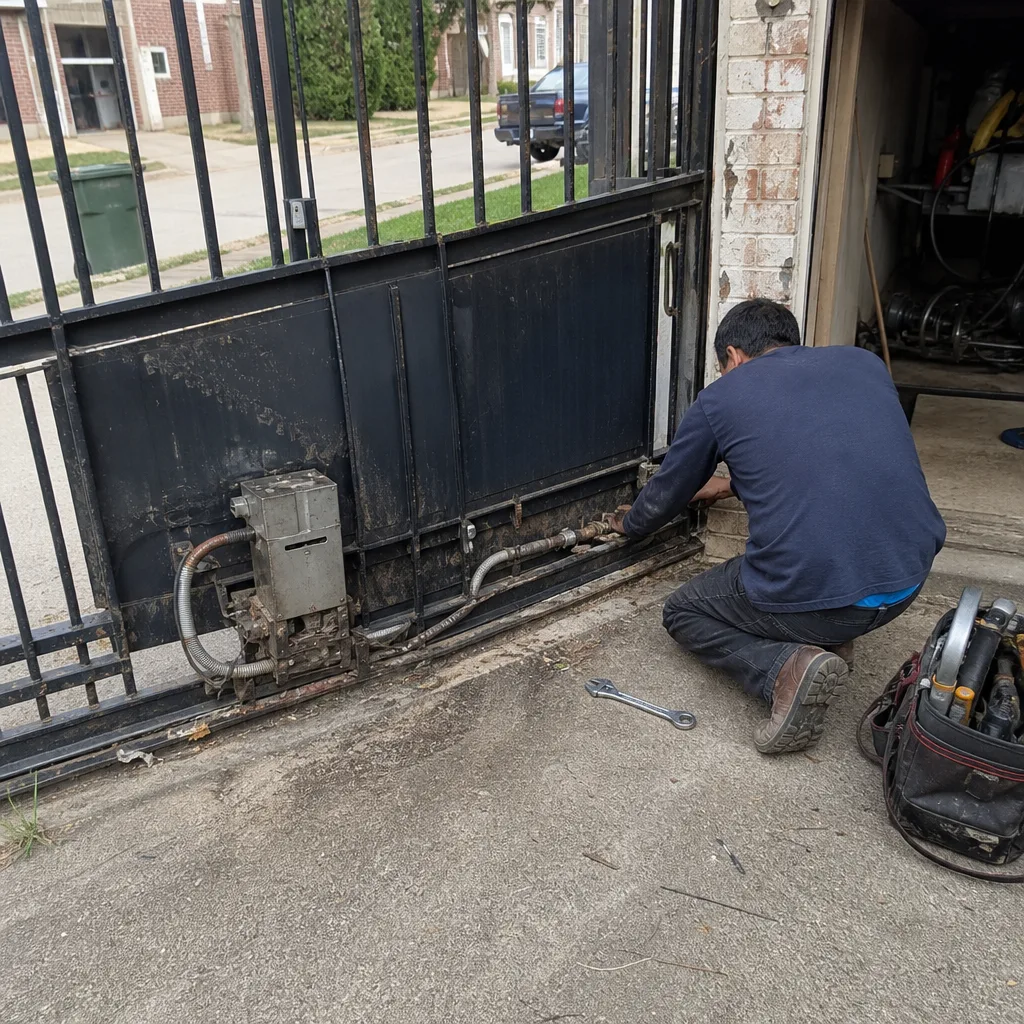 Before
 After
After